A flowchart is the best visual representation of the steps, activities, and outcomes of a strategy. It’s the most effective approach to showcase your work, but it may be challenging to do it digitally. Creating a flowchart from scratch on a computer is a tedious process if you don’t have the necessary software. Because of this, we’re releasing EdrawMax, a tool that will make creating diagrams a breeze.
You may make a diagram in no time at all with the help of this programme. A primer is necessary if you are just learning about this programme for the first time. Our whole purpose is to help you out with that. This post will show you how to create a flowchart using EdrawMax in a straightforward manner. Okay, then, let’s get going!
Introduction of EdrawMax
EdrawMax is a powerful diagramming application that facilitates the rapid creation of many diagrams, symbols, and designs. With its many in-built tools, users may create the perfect charts without any prior experience. More than 280 reusable diagrams are included to help users get started quickly. Users may utilise this for a wide variety of purposes, including but not limited to the creation of academic diagrams, mind maps, organisational charts, and much more.
EdrawMax’s extensive template collection is the icing on the cake. In addition to using the library’s pre-existing templates, users may also contribute their own unique versions. Additional users may also access and utilise these pre-made templates. This implies that fresh, original templates are available every day.
As was previously indicated, you don’t need to be a drawing pro to utilise this programme. To help you make your own unique design, EdrawMax comes with over 5,000 premade templates and over 26,000 symbols to choose from.
What follows is a brief tutorial on how to use the aforementioned EdrawMax templates and symbols to create your own original illustration.
How to Make a Flowchart in EdrawMax
Having the proper resources is the first step in creating a high-quality flowchart. Getting to know the tools in EdrawMax is essential for effectively using them. There are two versions of this flowchart maker available: a desktop application and an internet service.
Get Familiar With Flowchart Symbols in EdrawMax
A flowchart is a branching diagram with individual shapes standing in for individual steps. Each form has a specific name and job that it does. It is possible to infer the next step just by glancing at the flowchart’s forms, eliminating the need to read the data.
Improve our usage of shapes in the flowchart by learning more about them.
- Beginning/Conclusion: This oval-shaped box appears at the beginning and conclusion of a flowchart.
- During the processing phase, a rectangular box is used as the process form. It stands for whatever processing function is being performed, whether it’s an internal process or the overall process represented by the flowchart.
- In a flowchart, the decision-making process is represented by a diamond-shaped box, also called a rhombus. This is a common way to discuss several options before narrowing down the list to one. The answer might be a simple yes or no.
- The sub-process form indicates additional operations inside the overall procedure. Smaller processes may be used to represent a larger process chain. Also rectangular, but with two sets of parallel lines rather than one.
- Invoices, reports, and input/output forms all serve as examples of documentation.
- Information: This data parallelogram represents the input and output of a process.
- A reference to a page inside the same work is represented as a cube with a circle within. Same-letter continuation on the same page indicates a continuous flow.
- It’s an off-page reference, signifying the continuation of flow with a comparable letter on a separate page.
- An example of a flow line would be an arrow that goes from one form to the next. Also, they serve as a symbol of the flowchart’s unbroken chain of events.
How to Make a Flowchart in EdrawMax?
Putting your thoughts down on paper first might help you create a software design that is faultless. To draught the model flowchart, just make a mind map. With a rough sketch of the final product in hand, you’re ready to dive inside the program.
You have two options to make a flowchart.
- The internet provides a plethora of pre-made templates for your usage. Choose a template from the area labeled “Templates” on the left sidebar and edit it as needed. You’ll be able to discover a lot of useful tools like mind maps and org charts there.
- If you’re just getting started with Photoshop, you may open a new, blank document by going to File > New > Recommended > Black Drawing.
Let us start making a flowchart in EdrawMax following these easy-peasy steps.
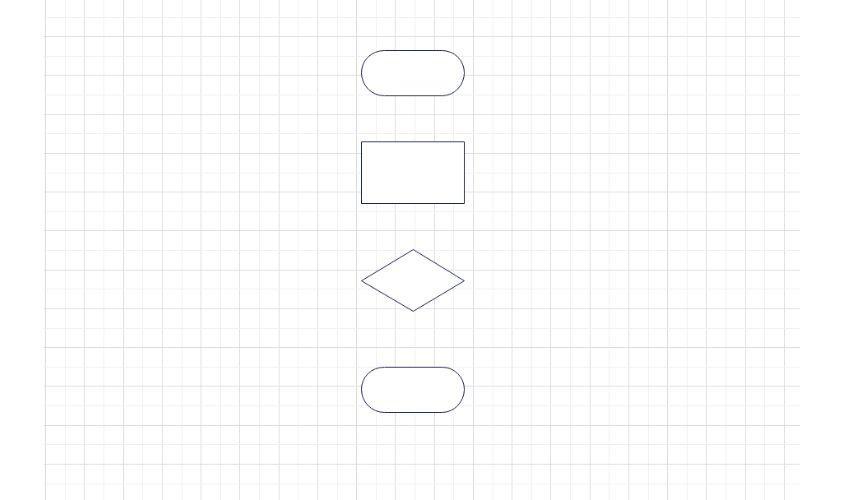
Step 1: Add Shapes to the Canvas:
It’s time to put everything you’ve learned about the flowchart’s forms and their roles to work in an actual design. To access the Symbol Library, click the icon with the symbol. Basic Flowchart Shapes is where you may get every flowchart icon you could need.
To make a flowchart, choose and drop the appropriate shapes into the blank page.
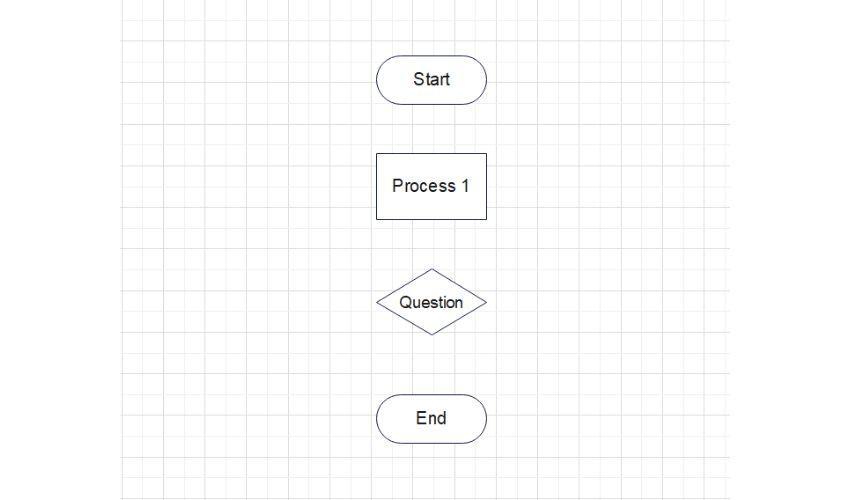
Step 2: Enter Data
Now fill up the flowchart’s shapes with your information. A flowchart’s layout may be modified as well.
Step 3: Add Connectors Between Shapes
Connectors, often known as arrows or flow lines, are used to continue the process shown in a flowchart. Choose a connector to link the shapes in your flowchart together. Select several connections under the “Advanced” menu > “Connector.”
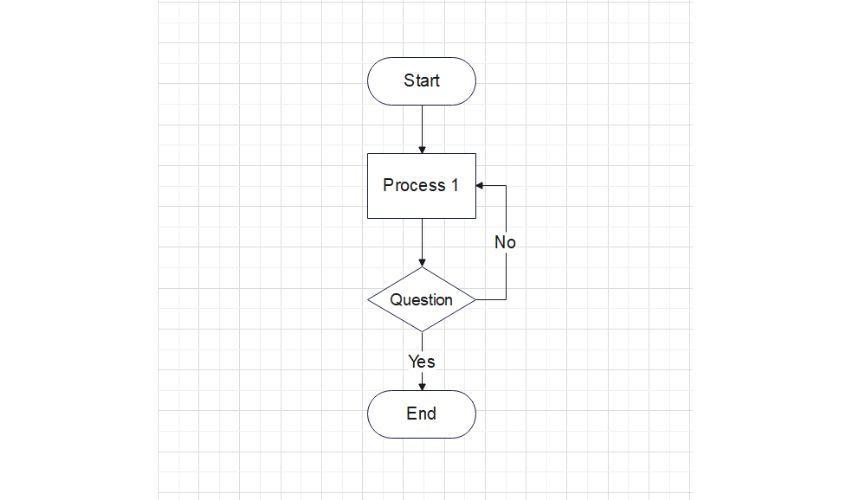
The decision shape’s connection may infer a YES or NO answer based on the direction of the flow line.
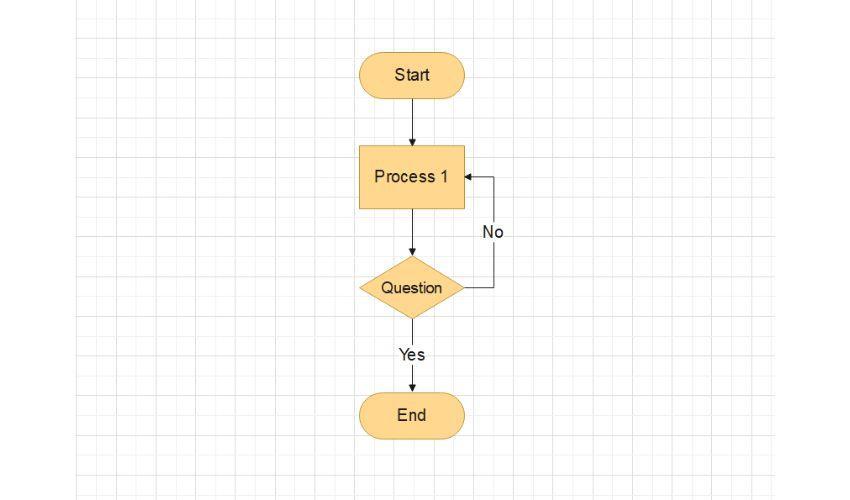
Step 4: Customize Your Flowchart
Last but not least, you may make whatever aesthetic choices you choose with regards to the text style, outline style, and fill colour of your flowchart.
To access the available choices for tailoring your flowchart, just click on the shape of interest.
Voila!! The process flowchart you requested is complete.
Conclusion
Finally, you’re free to customise the flowchart’s appearance anyway you see fit by selecting the text style, outline style, and fill colour.
Simply selecting the desired form will provide the corresponding options for further customising your flowchart.
Voila!! Your specified process flowchart is now finished.
Follow TechRado for more!